Good afternoon folks, brrrrrrrr its terrible weather here today - blowing a gale and lashing down with rain .... perfect crafting weather lol! I was really excited when I received an email asking if I'd try an exciting new product called Thermomorph, it sounded fun so of course I said yes and within a few days a lovely big jar of thermomorph arrived. Here's a few bits and bobs I've made trying out different techniques etc.

Firstly though, I'd better tell you what Thermomorph is and where you can get your hands on some lol. Thermomorph is a plastic compound that melts at low temperature, its available from Amazon here: http://www.amazon.co.uk/ThermoMorph-Polymorph-Shapelock-Plastimake-InstaMorph/dp/B00D3LAZ9O and you can find more details here on the Thermomorph website: http://www.thermomorph.net/. Its usually £19.95 for a 500g jar but I see its currently on offer with £2 off and free p&p. I've tried friendly plastic before and thought this would be very similar and it is BUT its a lot friendlier lol, it is very quick and easy to work with and I didn't burn my fingers once:-)
Now I'd planned on doing some step by step instructions but got carried away and only took a couple of pics so if you need any more info just email me and I'll try and help. I decided to use my Melt pot rather than just a bowl of hot water and it worked a treat, I set the temperature at 80 and it kept the thermomorph and a nice workable temperature. If you let it get too hot, a it'll burn your paws and b it goes a bit stringy so don't overheat it.
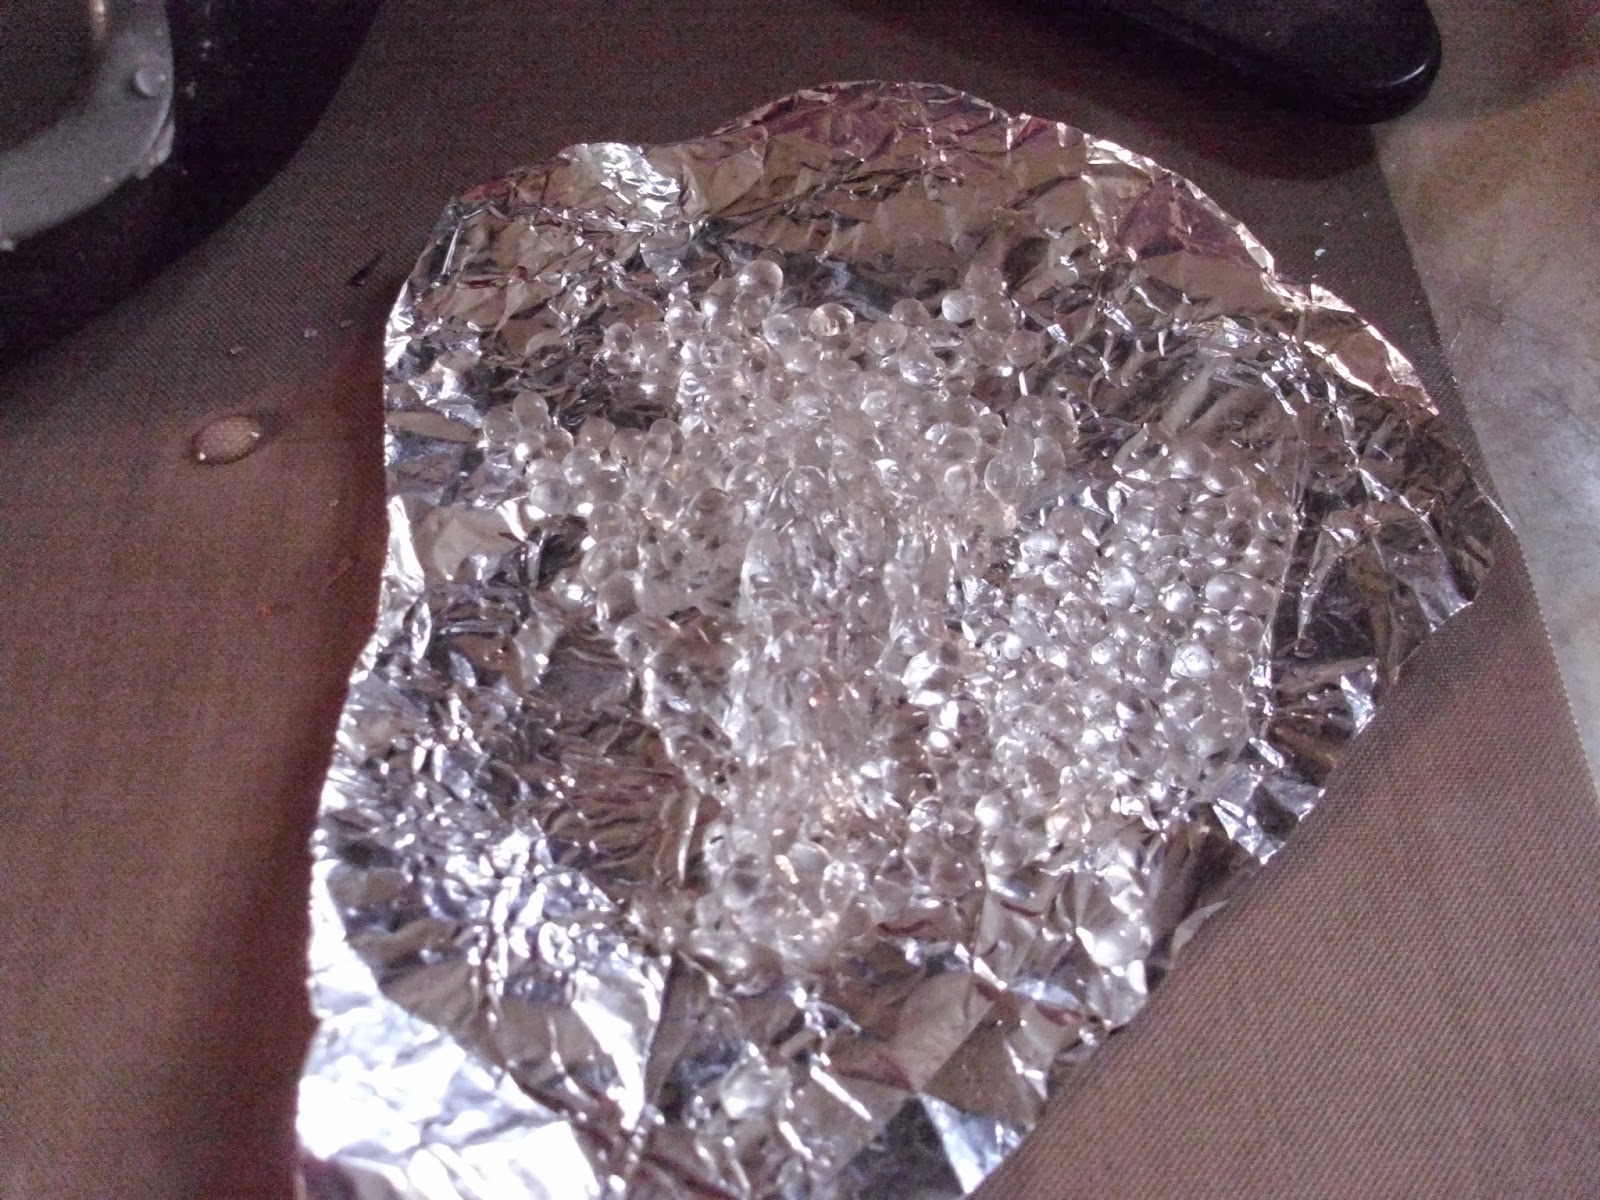
As you can see you get loads of product for your pennies, I've hardly used any and I made a load of little projects. I popped some foil in my melt pot as I was worried it may stick but I didn't need to worry as it didn't stick to anything. Here's a pic of the white thermomorph pellets in the water
In a few minutes they'll go clear and clump together (kind of like frogspawn lol) and then they are ready to work with. I found that when I took it out of the melt pot it was a workable temperature but if you have a go take care not to burn yourself.
Here are some of the pieces I made trying out different techniques:
These are made just by popping the melted Thermomorph in silicone moulds, they set in minutes and once they are white you can remove them easily. As you can see from the large heart, it picked up all the fine detail really well.
These pink roses were made by colouring the white granules of Thermomorph with cranberry alcohol ink before I melted them, I just love the kind of marbled effect of the finished flowers
Next I rolled some melted Thermomorph out and popped it in an embossing folder, once it was cool I die cut it with Sizzix Bigz die and painted with antique linen distress paint.
This next one was made by creating texture with a rubber stamp and cutting with a cookie cutter. Once the Thermomorph was cool I coloured with alcohol inks and added a coat of glossy accents. I love this technique, and was really impressed with the detail that the Thermomorph picked up from the stamp
Next I decided to play with markers, I created some texture with an embossing folder while the Thermomorph was warm and shaped it a little to add some dimension. Once it was cool I added colour with Graph'It markers and then some treasure gold to pick up the detail.
Still experimenting I decided to press the Thermomorph through some lace and cut with a circular cutter. I added some colour with alcohol inks and added one of my little roses too
Last but not least, two little birds made using Thermomorph in moulds and painting with Maimeri Brone acrylic paint, I adore this effect as they look gorgeous in real life, just like metal embellies!!
Well thanks for persevering, there are so many pics in this post but I really wanted to show you just a few of the different things you can do with Thermomorph.
Enjoy your day and thanks for popping by
Claire xx