My lovely blogland friends

Thursday 31 October 2013

Guest Designer at Frilly and Funkie!!

Good morning folks, woooo hooo what an exciting day!! I was chuffed to bits to be the DT's choice for a guest designer spot over at the Frilly and Funkie Challenge, of course I jumped at the chance to play along with such a talented bunch of ladies. Anyway the challenge is to create a card or project that reflects the abundance of the harvest season and the gratitude we express at Thanksgiving. Hmmmm, I had to get my thinking cap on for this one and I decided to take inspiration from the harvest theme and the beauty of nature and here is my project .....


A couple of weeks ago I was busy decluttering ( I don't know about you but I'm always decluttering and the house is still full of clutter lol) and I came across a funny little handbag that was a free gift with some make up. It had been gathering dust for years and was looking very sad, I decided that I'd keep the clasp and as I was prying it off the bag I thought I'd keep the bag and add it to my huge pile of stuff waiting to be altered. Here's the before pic


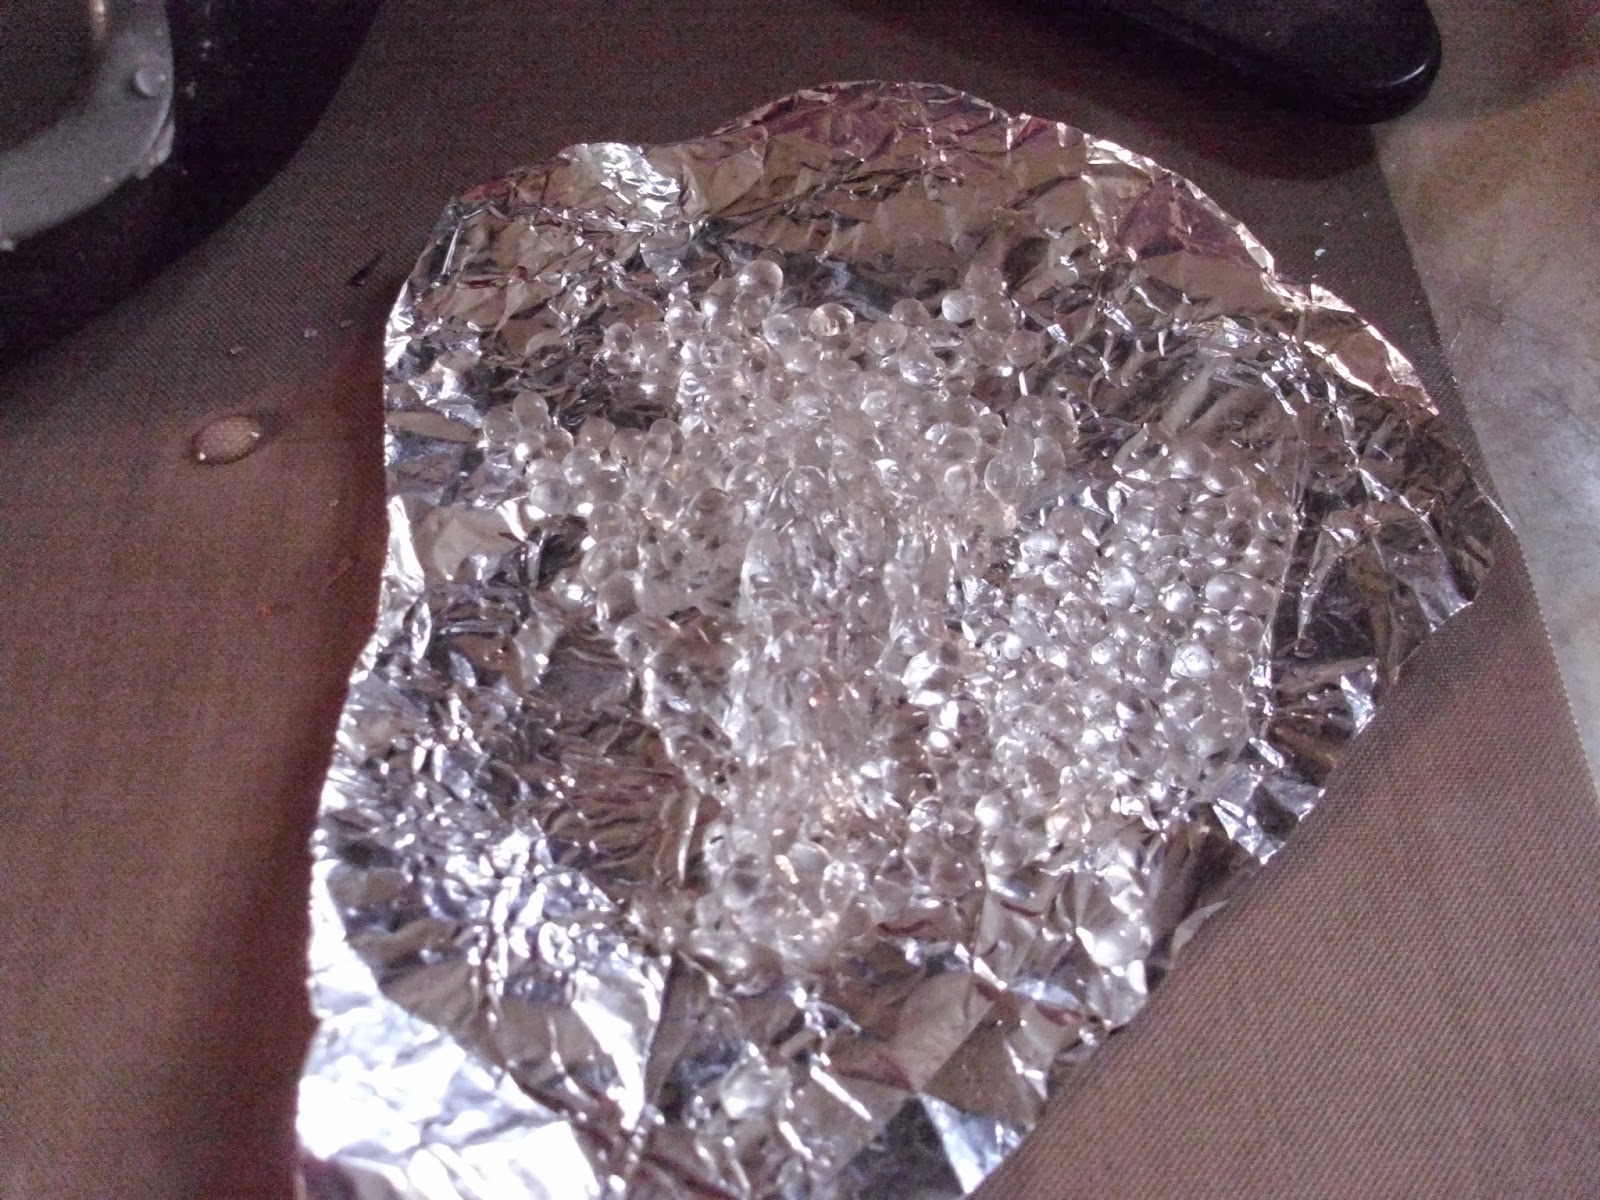
I began by giving the outside a coat of gesso and then smothering it with a layer of Flitter Glu and Kroma Crackle before blasting it with my heat gun. I'm so loving this effect at the minute, I'm crackling everything in sight lol. Once it was dry I added some colour with my PanPastels and gave it a coat of Maimeri Glossy Gel Medium, it looks a bit like a dragons egg doesn't it?


For the inside I stamped two little scenes, the top one with stamps from Joanna Sheen and the bottom one using a Clarity Stamp, I coloured them with Graph'It markers and created a cloudy sky with some PanPastels. I layered the little scenes up over loads of tissue paper. Next It was time to add lots of leaves and other goodies. I die cut lots of leaves from kraft Glassine, coloured with Memento Inks in various shades of yellow, red, purple, green and orange. I crumpled all the leaves up for some texture. I added the leaves around the edges of the little scenes, adding some little berries, lots of raffia and some die cut flowers made from Crinoline Fabric. 


To finish off I added some gingham bows and some little rusty bells. 

I'm entering this project in the following challenges:
Cuttin and Stampin: Autumn harvest
Heck of a Challenge: Autumn colours
Sweet Stampin: Woods, trees, leaves

Thanks to the lovely ladies at Frilly and Funkie for inviting me to join you for this challenge, its such an honour :-) and thanks to you for popping by today, hope to see you again soon
Claire xx


Wednesday 30 October 2013

Fancy Flourishes from Chocolate Baroque

Good morning my lovelies, todays card features the gorgeous new clear stamps from Chocolate Baroque, Fancy Flourishes  and a little topper made from Tim Holz tissue wrap. I adore this stamp set, such beautiful intricate designs.


I made the background by blending Dusty Concorde and  Milled Lavender distress inks onto some white cardstock. I stamped the flourish using Imperial Purple Versafine ink, its so easy to position these clear stamps. I made the topped by wrapping a little piece of card with tissue wrap, and adding some colour with more distress inks. I coloured the butterflies with Graph'It Markers and added some tiny dots of stickles to the wings before edging the topper with a gold krylon pen. I've just added a little bow and a die cut butterfly to finish off. I'm entering this card in the following challenges:
Crafty Bloggers: things with wings
Crafty Cardmakers: monochromatic purple
Fitztown: things with wings
Glitter 'n'sparkle: add some black
My time to craft: butterflies

Thanks for visiting today
Claire xx

Tuesday 29 October 2013

Gecko Galz Christmas Angel

Good morning my lovelies, oooh what terrible weather we're having! I hope you're keeping warm and safe wherever you are. My term as Guest Artist at the Gecko Galz is coming to an end but I wanted to share this little wall hanging with you, I've had  so much fun working with these gorgeous designs!


I began by printing the focal image which is a digital stamp from the Figgy Pudding Collection, isn't she a beauty? I've coloured her with Graph'It markers and added some tumbled glass distress ink around the edges, the little snowflakes were made with a mask and stencil paste, liberally sprinkled with glamour dust. I applied Maimeri Matte Gel Medium to adhere the image to a chipboard oval and edged the image with some pretty lace and iridescent beaded trim from the Ribbon Girl. To finish off I added some pretty blue seam binding ribbon  Here's another pic of the image ....


I'm entering this project in the following challenges:
Crafty Little Fairies: anything goes
Creative knockouts: favourite twine or ribbon (mine is seambinding ribbon)
Creative Moments: Lace/anything goes
Delightful Challenges: winged things
Totally Papercrafts: No squares allowed

Don't forget to check out the fabulous Gecko Galz blog, as well as the amazing artwork there are some fun challenges, blog hops and of course freebies too!
Thanks for visiting today, hope to see you again soon
Claire xx

Monday 28 October 2013

Sing your Song

Good morning my blogland buddies, hope your week has got off to a good start despite the weather, omg its  a bit wild here lol.  Today's card is one made a while ago that I forgot to post, the background was made with PanPastels and a gorgeous Pronty birdcage mask (from Your Creativity Store)

The sbird cage stamps are from Chocolate Baroque, as are the little birds which were made with Maimeri Iridescent medium buttered on to the stamp which I'd inked with black stazon. I made the flower using the same technique using a stamp from Paper Artsy. I've added some die cut twigs and stamped the sentiment which is also from Chocolate Baroque.

I'm entering this card in the following challenges:
Craft Room Challenge: feathered Friends
Inkspirational : anything goes
Sugar Creek Hollow: birds of a feather
WordArt Wedneday: anything goes

Well I'm going to brave the elements and go to work, hope you're keeping  warm and safe in this terrible storm we're having
thanks for popping by today,
Claire xx

Sunday 27 October 2013

Shades of grey at Premium Craft Brands PanPastel UK

Good morning folks and a big warm welcome to my new followers, its lovely to 'meet' you. We've got a fab new challenge starting over at Premium Craft Brands, with a fab prize from the lovely Berni at Your Creativity Store for our lucky winner too so pop on over to the challenge blog and find out all the deets. While you're there make sure you check out the gorgeous projects from my teamies too, you've still got time to enter our blog candy too (loads of scrummy goodies up for grabs so don't miss out!!)


For this weeks card I began by stamping the gorgeous little house from the Premium Art Brands clear stamp set 'Snowy Cottage', the image is coloured with Graph'It markers and glittered with lots of glamour dust. 


The background was made using the large tree from Winter Spruce, stamped with versamark and then I applied lots of silver and pewter PanPastels, the snowflakes were created using the same technique. It looks loads better in real life as the metallic pans really shimmer beautifully.

I'm entering this in the following challenges:
4 Crafty Girlz: anything goes
Kitty Bee Designs: black, white and one other colour
My Heart Pieces: anything Christmas
Papertake Weekly: Oh Christmas tree
Sister Act: anything goes

Well as usual Sunday morning means cooking lunch and ironing before I can play so I'd better make a move and geet thos jobs out of the way. Enjoy your day and thanks for visiting 
Claire xx

Saturday 26 October 2013

Green Godess

Good evening everyone, hope you're having a great weekend folks. Its been perfect crafting weather here, with grey skies, howling winds and heavy showers so I've been having a play in my craft room. I've used a gorgeous digistamp from Lavinia Stamps for this card, I love this image she is so pretty.


I've coloured the image with Graph'It Markers and stamped leaves (also from Lavinia stamps)  in lots of different shades of Memento Inks around the edges. The frame is made from kraft, die cut with spellbinders, distressed with vintage photo DI  and layered up over some chocolate brown card.

I'm entering this card in the following challenges;
Brown Sugar: autumn
Card Crafters Circle: autumn splendour
Crafty Hands: anything goes
Dream it up: Mystical and Magical
Fab'n'Funky: distress
Lavinia Stamps: autumn colours

Well i'm off to put my feet up and watch some tv now
thanks for popping by, hope to see you again soon
Claire xx

Friday 25 October 2013

A fun challenge at Polkadoodles

Morning all, Friday at last and the weekend is on the horizon yippeeeeeee! As its Friday you'll find PolkaDoodle gorgeousness in my little corner of blogland as we've got a fab new challenge starting at Polkadoodles and as you can see, we're getting into the Christmas spirit. As always there's a fab prize for our lucky winner and lots of inspiration from my lovely teamies so pop over and have a peek. There's also a fab new digi challenge 'Digi Choosday' too so theres lots to see in the land of Polkadoodles! 


For my DT project I've made some little Christmas decorations, they were very quick and easy to do as I used some of the gorgeous precoloured images from the PolkaDoodles cd  Home for Christmas, popped a layer of glossy accents on them and layered them up over some scrummy polkadot paper from the same cd. The decorations are double sided, here's a pic of the other side:

I've layered them up on kraft baubles die cut with nesties and topped them with some scraps of seam binding ribbon.

I'm entering these decorations in the following challenges:
Crafty Ribbons: anything but a card
Rhedd and Rosie's : anything goes

Thanks so much for visiting today, hope to see you again soon
Claire xx

Wednesday 23 October 2013

Happy Christmas from Chocolate Baroque

Good morning folks,  today's card is a quick and easy Christmas card made with the gorgeous new clear stamps from Chocolate Baroque, Fancy Flourishes

We always have so many cards to make for Christmas, so its nice to be able to get stamping and have a bit of a 'production line going with some simple but effective designs. The new Fancy Flourishes are fab for creating borders, backgrounds and frames so I thought they would be just the job for a a pretty Christmas design. I stamped the flourishes in Ladybug Memento Ink to create the frame, its so easy to line the clear stamps up. I added the sentiment from Bold Christmas Words and matted on some red card. To finish off I added a little red bow

I'm entering this card in the following challenges:
Addicted to Stamps: Christmas is coming
Allsorts: ribbon and bows
CRAFT: Christmas
Delightful Challenges: Frame it
Thanks for popping by today
Claire xx

Tuesday 22 October 2013

Gecko Galz Guest Artist: Beautiful Dreamer

Good morning folks, how's your week going? My card today is one of the projects I created as Guest Artist over at Gecko Galz. As well as lots of gorgeous Christmas goodies, there are some beautiful vintage collage sheets called 'Beautiful Dreamer' and I couldn't resist using one of the lovely wistful ladies for this card.


I used a pretty vintage backing paper, also from Gecko Galz (from the Camelot Paper Pack) to cover a pretty shaped card blank and layered the image up over cheesecloth, feahers, pretty lace and ribbon (from the Ribbon Girl). I added lots of gorgeous flowers from Wild Orchid Crafts, some little wired gems from my stash and some fluffy feathers.

I'm entering this card in the following challenges:
365 cards: Vintage with fabric
Allsorts: ribbon and bows
Creative Moments: Lace/ anything goes
Happy Campers: show us your flowers
Paper Shelter: 2 colours
Ribbon Girl: October Colour challenge
Sister Act: anything goes

If youv'e got a min, do check out the amazing Gecko Galz blog, as well as amazing artwork from the talented DT you can sign up for a fabby newsletter which comes with a grogeous freebie too.
Thanks so much for visiting today, hope to see you again soon
Claire xx

Sunday 20 October 2013

Time for a new challenge at Premium Craft Brands PanPastel Challenge

Good morning folks, how's your weekend going? I got loads of jobs done yesterday so I won't feel guilty having a lazy play day in my craft room today. I'm going through one of those phases where you start loads of stuff so i've got bits and bobs drying all over the house lol. As its Sunday its time for a new challenge at Premium Craft Brands PanPastel UK Challenge and this week we're using Autumn Colours on our projects. As always there is a fab PanPastel Starter set for our lucky winner from Berni our lovely sponsor at Your Creativity Store. Pop on over to the challenge blog and find out all the deets and of course check out my teamies fab projects too.

I've made a canvas for my DT project, its one of those projects that nearly ended up in the bin soooooo many times lol. I began by using Maimeri Light Modelling paste through a couple of different stencils, once that was dry I set too sticking all manner of bits and bobs on with Maimeri Matte Gel Medium - i've used die cuts, ribbon, bead string, some old earrings, some little square plastic tiles, gems etc etc.

 Next I added a liberal coat of Maimeri Matte Gel all over and while it was wet I used a duster brush to sprinkle on PanPastels. I used all Autumnal shades - Phthalo Green, Yellow Green Shade, Burnt Sienna, Raw Umber and then lots of Metallic PanPastels. I just loooooove the Metallic PanPastels!!!  Once it was dry I went over with my brush again, blending all the colours together to create a distressed metallic effect.


Lastly I added some black and then some Silver PanPastel to highlight all the texture, its so hard to get a decent pic as the Metallic Pans are so shimmery?


I added a sentiment to fnish off, I thought this quote was pretty appropriate lol, its from Chocolate Baroque and is one of my favourites.

I'm entering this project in the following challenges:
All Crafts: anything but a card
Artistic Stamper: alter something
Crafty Ribbons: anything goes with ribbon
Creative Moments: lace/anything goes
Quick Quotes: stamping
Word Art Wednesday: anything goes

Thanks so much for visiting today, have a lovely day
Claire xx

Make a card at FSC

Hello my lovelies, can you believe another two weeks have whizzed by and its time for a new challenge over at Fashionable Stamping Challenges? Goodness me at this rate it will soon be Christmas eeeeek! Anyway our new challenge is a nice easy one for you, its 'Make a Card' chosen by my lovely teamie Dot. As always our lovely sponsor Flonzcraft has a fab $20 voucher up for grabs for our lucky winner! Pop over and have a look at all the deets and of course check out my teamies wonderful projects, they are such a lovely talented bunch of ladies!!

I've used a shaped card blank and a gorgeous bp from CraftWork cards, the stamp is from Flonzcraft (of course lol) and I've coloured the image with my beloved Graph'It markers. I just love these elegant ladies!


I've added lots of embellies: ribbon, lace, a gesso and glittered fan charm and butterfly and lots of flowers all given the gesso and glitter treatment. I've added some black die cut leaves to finish off. I'm entering this card in the following challenges:
Alphabet Challenge:  R is for roses
Oooh La la: things with wings
Paper Pretties: lots of embellies
Sweet Pea Stampers: Sparkle and shine
Whimsy Inspiration: shabby chic/vintage

Thanks so much for popping by today
Claire xx

Saturday 19 October 2013

Haviing a crackling time

Evening all :-) I've been having a wee play in my craft room today after battling through loads of jobs in the house and garden and I couldn't resist trying the gorgeous crackle effect that Kay from Indigo Blu demo's on C&C last week and omg is its a fab technique! I love it :-)

I used a little black tag, swiped with flitter glu and then applied Kroma Crackle coloured with mica powders (copper and Pear green) and blasted it with a heat gun. Its a totally different crackle to when the Kroma crackle dries naturally but its really effective, kind of  like a rough bark effect. I didn't really want to cover it up lol but I decided to add an Indigo Blu sentiment and a couple of acetate butterflies, made with a freebie Indigo Blu stamp from Craft stamper. I stamped them with black stazon, cut out and then embossed the back with Palm Green and Copper Sparkle EPs from Sparkle and Sprinkle. To finish off I added a scrap of green seam binding and some pearls for the butterflies bodies.


I'm entering this tag in the following challenges:
Indigo Blu: things with wings
Divas by Design: autumn colours
Make my Monday: texture
Sparkle and Sprinkle: anything goes with EP/Glitter/ flocking

Well thanks for popping by, have a lovely evening - I've got a date with a bag of Maltesers and the tv lol
Claire xx

I'm dreaming of a pink Christmas

Good morning folks, how are you doing with those Christmas cards?? I've made quite a few now and all the gorgeous new stamps from Chocolate Baroque have been a real inspiration, I've used a very unChristmassy colour palette for this card using stamps from the beautiful Reindeer Landscape stamp set


I love pink and white for Christmas cards so I set to with an assortment of pink dye inkpads and a water mister and swooshed them around on my ink blending mat to create the background. Next I stamped the trees and the snowflakes with versamark and embossed with whit embossing powder. I added some colour to the trees with Sakura Glaze pens.

The sentiment is from Bold Christmas Words, again embossed with white embossing powder on pink cardstock and die cut with spellbinders dies. I added some little pearls to the snowflakes and a little white bow to the bauble sentiment. 

I'm entering this card in the following challenges:
Card Mania: pastel colours
A Creative Romance: pink
CRAFT: christmas
Crafting Musketeers: Christmas in October
Crimson Cloud: Christmas cards
Holly Jolly Christmas: inspired by a carol (Let it snow)
Thanks so much for visiting, hope to see you again soon
Claire xx


Friday 18 October 2013

We're feeling festive at Graph'It Colour Challenge

Good morning folks, phew where did the week go?? I'm not complaining, as you know I spend all week watching for Friday so i'm always pleased when it arrives. As its Friday we've got a new challenge over at Graph'It Colour Challenge  with a fab prize up for grabs, and of course my lovely teamies have coloured up some gorgeous images to inspire you so pop on over and have a peep. I've done a tutorial this week too if you fancy a look.


I've used this adorable snowman from the PolkaDoodles Cd Home for Christmas, and of course I've coloured with Graph'It Markers. Colours used:
Blues:7130, 7125, 7110
Purples: 6140, 6130
Snow: 9102, 9500 plus 2160 for the carrot nose and 3125 for the arms
Here's a better look at the little cutie, he's sat in some sparkly snow - made from rock candy glitter, mica flakes, shaved ice etc. I've added some flock to his pompoms and some glossy accents to his buttons.


The bp is also from Polkadoodles, i've edged it with stickles and layered the image up with a doiley. To finish off I've added a seambinding bow, a button and some twine, a little snowflake charm peeking out from the ribbon and some Doodle Dewdrops in the corners. I'm entering this card in the following challenges:
Artistic Inspirations: anything goes
Bearly Mine: anything goes
CRAFT: Christmas
Crafty Creations: sparkle and shine
Deep Ocean: Christmas is round the corner
Sparkle and Sprinkle: anything goes with glitter, ep or flocking
thanks so much for visiting and for your kind comments too
Claire xx

Thursday 17 October 2013

Autumn has arrived in SplodgeAway Land

Good morning, we've got an Autumn theme at SplodgeAway this week and for my project I've used two masks, the frame from Do it with Daisies 1 and the Mini leaves mask (you can find them both here) The pics aren't too good, its been so dark and dull here for the last few days.  This first pic is a bit of a strange angle but it shows the colours of the background  better than the other pic


I  made a background with distress inks (Peeled Paint, Scattered Straw and Wild honey) and rock salt, then I applied versamark to the Do It with Daisies 1 frame and popped it through my Grand Calibur. I embossed with copper embossing powder, adding a little green here and there. Next I used the Fallen Leaf mask and added some leaves to the background using more distress inks. I coloured the image (a Sheen Douglass stamp) with Graph'It markers and cut it out, popping it up on 3d foam pads for some dimension.


I'm entering this card in the following challenges:
Craft your Passion: embossing
Loves rubber stamps: fall leaves or pumpkins
One Crazy Stamper: thankful/autumn
Our Daily Bread: create your own background
thanks so much for visiting today
Claire xx

Tuesday 15 October 2013

Guest Artist at Gecko Galz: Christmas post

Good morning folks, as you can see I had a blast creating my projects for my month as Guest Artist at Gecko Galz! I've used images from Altered Christmas for this card, I really enjoyed making it as I adore mail art so its was loads of fun to use so many different mail elements in this card.

I began by printing the image out on some of my treasured perforated postage paper, before I printed I masked the white lines with some fine masking tape. The image was layered up over some recycled brown paper and I decoupaged the little cuties on their sled and also the sentiment too. 
I found the perfect backing paper for this project, its from Christmas Post by CraftWork Cards, love it! The shaped  card is also from Craftwork cards. The paper has been edged with a gold krylon pen


I layered the image up over one of the post cards and some pompom trim and red seam binding ribbon. Next i added some of the cute little Christmas stamps from Altered Christmas and lastly a die cut flower and card candi also from Craftwork Cards.

I'm entering this card in the following challenges:
Come and Get it: any faux technique (faux postage for me)
Craftitude: anything goes/beginning with S (my s is stamps)
Crimbo Crackers: Christmas birds
Winter Wonderland: wrap it up

thanks so much for visiting today, do nip over and check out all the new goodies from Gecko Galz, and don't forget to sign up to the monthly newsletter as you get a gorgeous image sheet as a freebie every month!
Claire xx

Monday 14 October 2013

Crafts and Me

Good morning my lovelies, brrrrrrr its a bit nippy here today time to dust the winter woolies and wellies off I think. Today's card features one of the scrummy digis from Crafts and Me, this one is called Calli Girl by Hanna Lynn


I've coloured the image with Graph'It Markers and used a gorgeous bp from Craftwork cards, I've added some black seambinding ribbon, some pretty lace and little pearls in the corners. To finish off I've added a die cut butterfly and a little sentiment too.
I'm entering this card in the following challenges:
Brown Sugar: anything goes
Colour Me Creative: anything goes
Crafts and Me: use a Hannah Lynn image
Crafty Ribbons: butterflies
Cut it up: think pink
Paper Creators: dies/punches
Totally gorjuss: wings and things

thanks for visiting today, hope to see you again soon
Claire xx

Sunday 13 October 2013

A fab new challenge at Premium Craft Brands PanPastel UK

Good morning my lovelies, well Autumn has arrived with a bang in my little corner of the UK, after some gorgeous warm autumn days we've got cold winds and heavy rain! We've got a fab new challenge over at Premium Craft Brands PanPastel UK Challenge this week and as always my teamies have come up with some stunning projects! We've got a fab prize up for grabs and don't forget the amazing blog candy - you've still got time to enter so pop over and find out all the deets!


I began with some corrugated cardboard and created a rusty effect with gesso, phthalo green, yellow green shade and the gorgoeus metallic PanPastels too. I mixed up some micro beads with light modelling paste and smothered that on, adding more colour with the PanPastels


The main image is a stamp from Sheena Douglass, stamped with copper EP , I tore it to shape and applied some copper PanPastel around the torn edge. Next I made lots of die cut leaves, smothering them with PanPastels and adding versamark to add depth to the colours. I added some metal maple leaves that i've had in my stash for ages, they were a bit of an odd colour so I changed the colour with Graph'It Markers and Mix'It Fluid. The sentiment is from Chocolate Baroque, again stamped and embossed with Copper EP


To finish off i've added die cut swirls coloured with Gold PanPastel, some berries, raffia, a wooden button and some twine from my stash. 
i'm entering this one in the following challenges:
Challenges and Candies: colours of Autumn
Creative Corner: anything but a card
Frilly and Funkie: Autumn Colours
Rhedd and Rosie's: Autumn Colours

Thanks so much for popping by, have a great day
Claire xx


Saturday 12 October 2013

Playing with Thermomorph, you're going to LOVE this stuff!

Good afternoon folks, brrrrrrrr its terrible weather here today - blowing a gale and lashing down with rain .... perfect crafting weather lol! I was really excited when I received an email asking if I'd try an exciting new product called Thermomorph, it sounded fun so of course I said yes and within a few days a lovely big jar of thermomorph arrived. Here's a few bits and bobs I've made trying out different techniques etc. 


Firstly though, I'd better tell you what Thermomorph is and where you can get your hands on some lol. Thermomorph is a plastic compound that melts at low temperature, its available from Amazon here: http://www.amazon.co.uk/ThermoMorph-Polymorph-Shapelock-Plastimake-InstaMorph/dp/B00D3LAZ9O and you can find more details here on the Thermomorph website: http://www.thermomorph.net/. Its usually £19.95 for a 500g jar but I see its currently on offer with £2 off and free p&p. I've tried friendly plastic before and thought this would be very similar and it is BUT its a lot friendlier lol, it is very quick and easy to work with and I didn't burn my fingers once:-)

Now I'd planned on doing some step by step instructions but got carried away and only took a couple of pics so if you need any more info just email me and I'll try and help. I decided to use my Melt pot rather than just a bowl of hot water and it worked a treat, I set the temperature at 80 and it kept the thermomorph and a nice workable temperature. If you let it get too hot, a it'll burn your paws and b it goes a bit stringy so don't overheat it. 


As you can see you get loads of product for your pennies, I've hardly used any and I made a load of little projects. I popped some foil in my melt pot as I was worried it may stick but I didn't need to worry as it didn't stick to anything. Here's a pic of the white thermomorph pellets in the water


In a few minutes they'll go clear and clump together (kind of like frogspawn lol) and then they are ready to work with. I found that when I took it out of the melt pot it was a workable temperature but if you have a go take care not to burn yourself.


Here are some of the pieces I made trying out different techniques:

These are made just by popping the melted Thermomorph in silicone moulds, they set in minutes and once they are white you can remove them easily. As you can see from the large heart, it picked up all the fine detail really well.


These pink roses were made by colouring the white granules of Thermomorph with cranberry alcohol ink before I melted them, I just love the kind of marbled effect of the finished flowers


Next I rolled some melted Thermomorph out and popped it in an embossing folder, once it was cool I die cut it with Sizzix Bigz die and painted with antique linen distress paint.


This next one was made by creating texture with a rubber stamp and cutting with a cookie cutter. Once the Thermomorph was cool I coloured with alcohol inks and added a coat of glossy accents. I love this technique, and was really impressed with the detail that the Thermomorph picked up from the stamp


Next I decided to play with markers, I created some texture with an embossing folder while the Thermomorph was warm and shaped it a little to add some dimension. Once it was cool I added colour with Graph'It markers and then some treasure gold to pick up the detail.


Still experimenting I decided to press the Thermomorph through some lace and cut with a circular cutter. I added some colour with alcohol inks and added one of  my little roses too


Last but not least, two little birds made using Thermomorph in moulds and painting with Maimeri Brone acrylic paint, I adore this effect as they look gorgeous in real life, just like metal embellies!!


Well thanks for persevering, there are so many pics in this post but I really wanted to show you just a few of the different things you can do with Thermomorph.
Enjoy your day and thanks for popping by
Claire xx

Related Posts Plugin for WordPress, Blogger...